Creating a chart

Abby
Last Update 3 years ago

First give your project a name. This will be used as both the project name and the chart name to begin with. Each project can contain many charts, and you can rename both the project and the chart later if you wish.
If you know the grid size you want, enter them in width and height. You may also change the size of your work at any time later on.
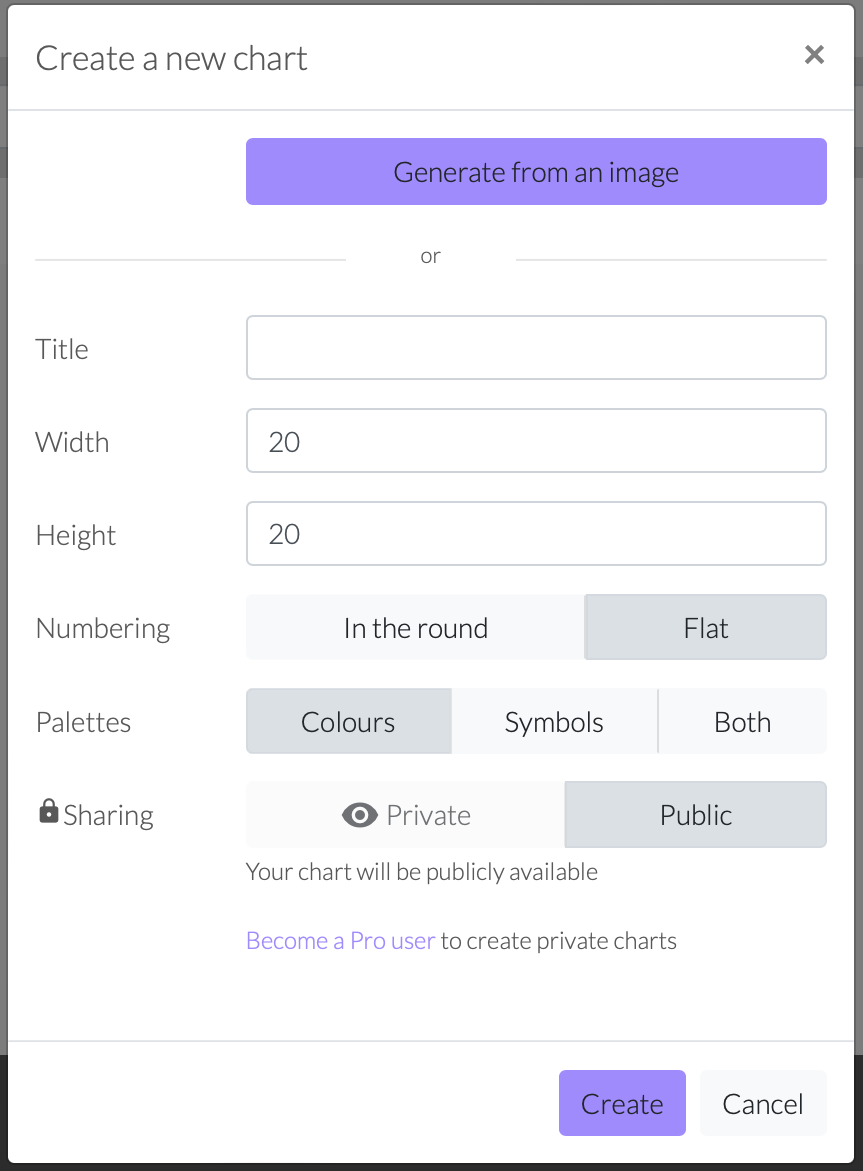
Numbering set to in the round will have all row numbers on the right hand side, and Flat will number on the right/left alternately. For palettes, choose Colours if you are making a colourwork chart, or symbols for lace. You can always add both later on.
In the free version, projects and charts will always public, which means they will be available for anyone to see and use in the Chart Minder Library.
💜 Pro users can set their work to be private, helpful if you wish to publish your work later, or if you are working on something where you do not own the copyright.